A warehouse to Transfer used to ship items from one location to another location as part of your standard inventory management. Transfer Inventory using Multi-location and the items is “Form location” decrease the items and “To location” Increase the items. The items need to be available in on hand inventory to be transferred. The destination location receives the items and the items are counted in that location's inventory.They also often have several Inventory Transfer refers to moving inventory from one to another location.
Creating an “Transfer Inventory”:
NetSuite Providing two methods for transferring inventory between locations transfer orders and inventory transfers.
Navigate for Transfer Inventory: Go to > Transaction > Inventory > Transfer Inventory.
How to enable Multi-location Feature:
- Go to Setup > Company > Setup Tasks > Enable Features.
- On the Company subtab, check the Locations box.
- On the Items & Inventory subtab, check the Inventory box and the Multi-Location Inventory box.
- On the Transactions subtab, check the Advanced Shipping box and the Advanced Receiving box.
- Click Save.
Items are displayed in line level “Transfer Inventory”:
In “One World Account”: Items are displayed based on “Subsidiary” field.
In “Non One World Account”: Items are displayed “Location” field.
- In addition to transferring stock between locations, OneWorld users may require inventory transfers to move stock between subsidiary companies.
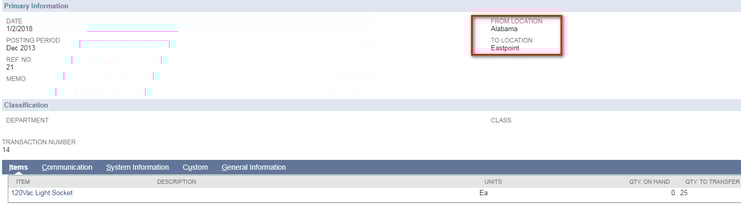
To transfer inventory you must enter transaction and item information for both the “To location” and “From location”


 Twitter
 Linkedin
 Youtube
 Google +
 Face Book